Building the Cook Stove, with Oven

Dry setting the soapstone

Dry setting the soapstone

Air Intake channels

Air Intake channels

First Courses of Fire Brick

First Courses of Fire Brick

Tha Supah wants to play

Tha Supah investigates the string from the crumb cake box.

Seating the flue damper assembly in line with the chimney

Seating the flue damper assembly in line with the chimney

Demonstrating the bypass flap

Demonstrating the bypass flap

Already a beautiful creation

Already a beautiful creation, with the water jacket and flue damper fitting perfectly

Where's tha Supah

New kitchen starting to take shape.

Applying Rope Gasket

Applying Rope Gasket

Gasket rope on stove, too

Rope Gasket on stove, too

Seating the oven

Seating the oven

Fine tuning the hardware

Fine tuning the hardware


Tha Supah investigates

The flue from the stove flue damper assembly to the chimney was very carefully done to insure it would never crack and leak exhaust. Angle irons and fiberglass-reinforced concrete made a stable platform for the steel pipe, then the pipe was wrapped in foil-backed mineral wool, and bricks were mortared around. Sheet metal was cut to enclose, and soapstone tile cut to finish.

Orange angle irons extending through wall into cinderblock chimney. View is from upstairs in the bathroom looking down through hole in floor. A board covers the two flues to keep out debris. The other flue is for the heater.


View from the back of the stove showing the flue damper assembly over the fiberglass reinforced concrete pad


Aiming to intersect with the terracotta chimney flue pipe.


View from the other side of the wall. The angle irons over and under the flue damper assembly are visible.
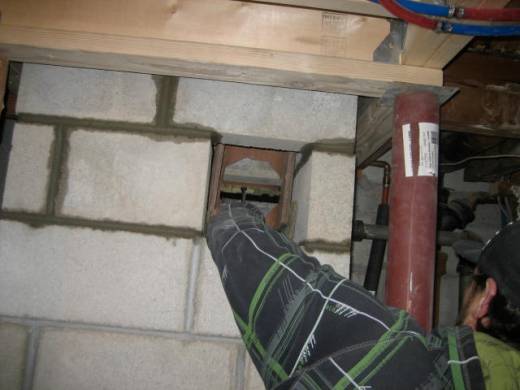
View of the clean-out on the other side of the chimney. Visible is one of the round holes cut into the terracotta chimney flue pipe; one hole to receive the pipe from the stove, and one hole on the opposite side to form the clean-out door. (A concrete plug will be made to shield the cast iron trap door.)


View from above up in the bathroom, looking down the terracotta chimney flue pipe to see Adam adjusting the metal flue pipe from the stove. Brick has been used to bring the chimney flush with the bathroom floor and fire blocking sheet metal flashing has been installed
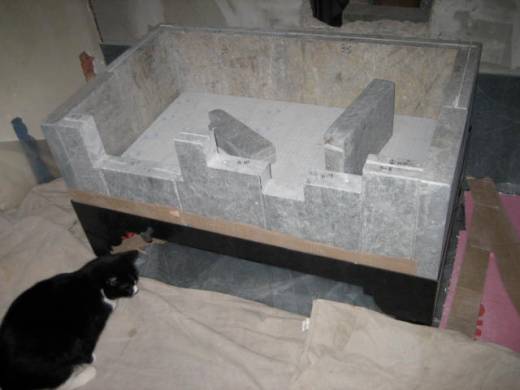
The metal pipe from the masonry stove's flue damper assembly to the terracotta chimney flue pipe


View from the back of the masonry stove showing the flue pipe encased in foil-backed mineral wool and being encased in brick and mortar.

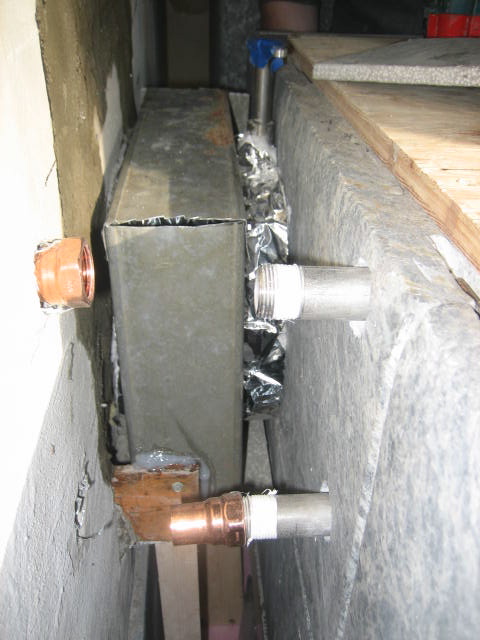
View from the side of the back of the masonry stove showing a sheet metal box screwed together and screwed to the angle iron, enclosing the pipe and mineral wool. Jeremy will cut a piece of soapstone tile to cover. Pipes are to the water jacket, which will be seen to later.

This entry was posted in Uncategorized. Bookmark the permalink.

Leave a Reply

Fill in your details below or click an icon to log in:

WordPress.com Logo

You are commenting using your WordPress.com account. Log Out /  Change )

Facebook photo

You are commenting using your Facebook account. Log Out /  Change )

Connecting to %s